How to Use a Sewing Machine for Beginners (Australia)
To use a sewing machine as a beginner, you need to do five things in order: set the machine up correctly, wind and insert the bobbin, thread the top thread, choose a basic stitch, and practise on scrap fabric before starting a real project. Get those five steps right and you can be sewing a straight seam within your first sitting.
Affiliate Disclosure: This post contains affiliate links. If you buy through them, HomeNoche may earn a small commission at no extra cost to you. Full details on our Affiliate Disclosure page.
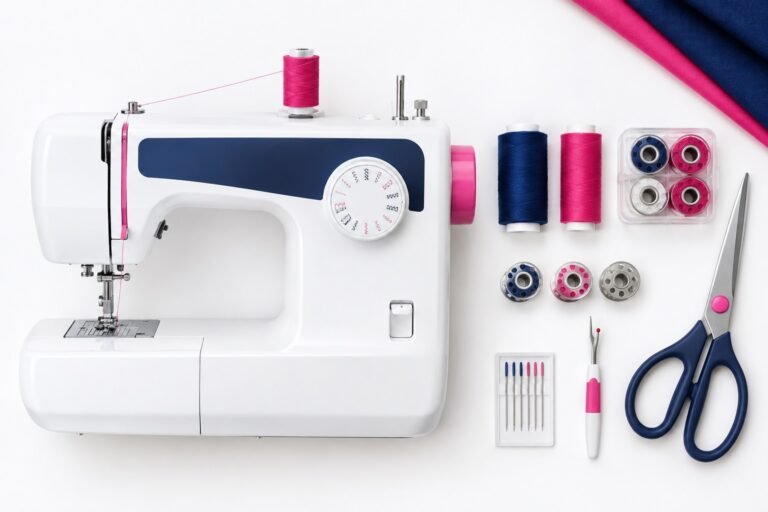
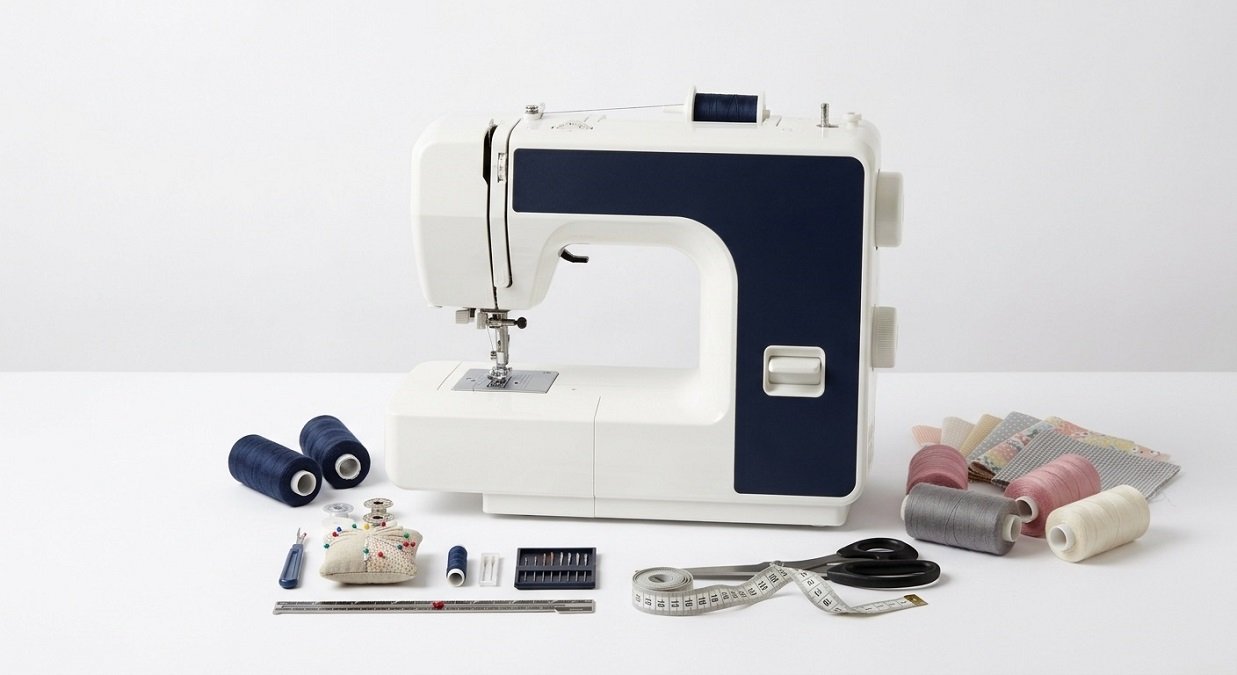
What You’ll Need Before You Start
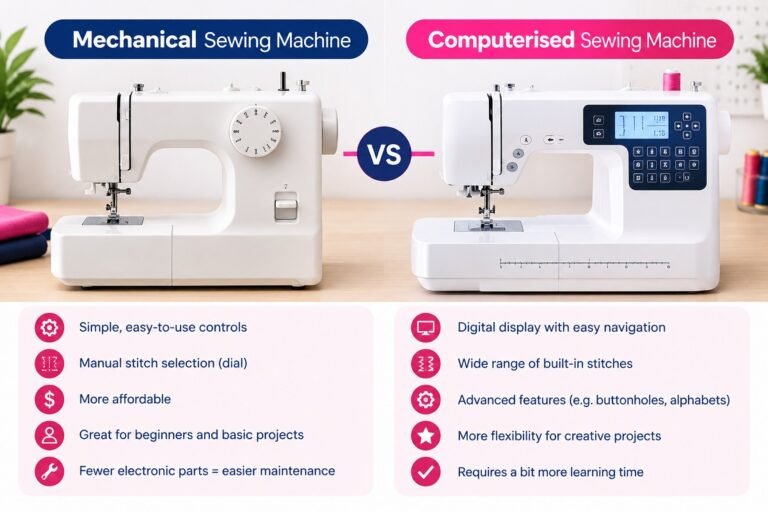
- A sewing machine (mechanical or computerised either is fine for learning)
- A reel of all-purpose polyester thread
- A few scraps of cotton fabric to practise on
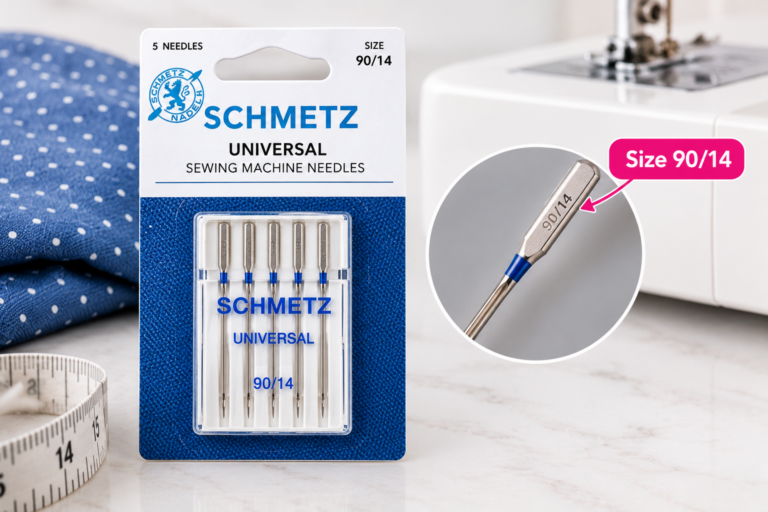
- A pack of universal machine needles
- Small scissors or thread snips
- Your machine’s instruction manual (keep it you’ll refer back to it more than you’d think)
Parts of a Sewing Machine You Should Know
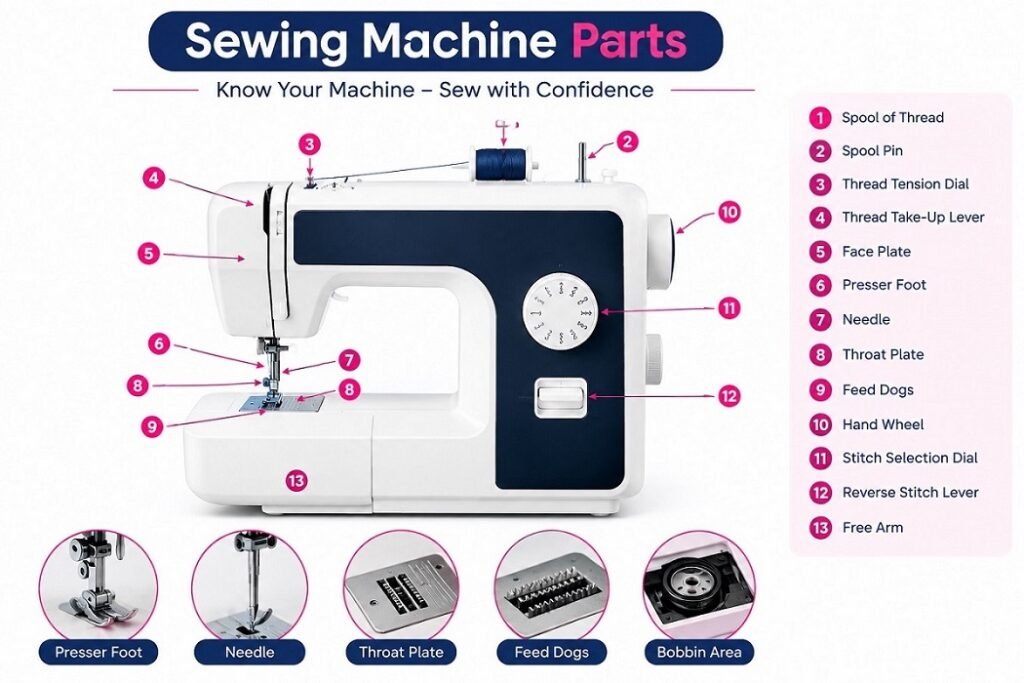
Every home sewing machine shares nine core parts: the spool pin, bobbin winder, thread guides, tension dial, presser foot, feed dogs, needle plate, foot pedal, and hand wheel. Knowing these before you start threading makes every later step much easier to follow. Threading is the first skill every beginner needs, and it’s just one part of learning how to use a sewing machine.
Here’s what each one does:
- Spool pin holds your main reel of thread
- Bobbin winder winds thread onto the small bobbin that sits underneath the fabric
- Thread guides small hooks and loops that direct thread from the spool to the needle
- Tension dial controls how tightly the top thread is held as it stitches
- Presser foot holds the fabric flat against the feed dogs as you sew
- Feed dogs the small teeth under the presser foot that move fabric through the machine
- Needle plate/throat plate the flat metal plate the fabric sits on, often marked with seam guidelines
- Foot pedal controls sewing speed, similar to an accelerator in a car
- Hand wheel on the right-hand side of the machine, used to manually raise or lower the needle
You don’t need to memorise all of this before you start but knowing the names makes it much easier to follow along with threading instructions.
Step 1: Setting Up Your Machine
- Place your machine on a stable, flat surface with good lighting.
- Plug in the foot pedal and power cord, making sure the machine is switched off first.
- Turn the machine on and raise the presser foot lever.
- Turn the hand wheel towards you until the needle is at its highest point this needs to happen before you thread the machine, or the stitches won’t form correctly.
Step 2: Winding and Inserting the Bobbin
The bobbin holds the thread that sits underneath your fabric. Getting this step right is one of the most common places beginners go wrong, so take it slowly.
- Place a reel of thread on the spool pin.
- Pass the thread through the bobbin winding tension disc (check your manual for the exact path this varies slightly by machine).
- Thread the end through a hole in an empty bobbin and pop it onto the bobbin winder spindle.
- Push the spindle across to engage the winder, then gently press the foot pedal until the bobbin is full.
- Trim the thread, remove the bobbin, and insert it into the bobbin case following the direction shown on your machine (usually indicated by an arrow).
A properly wound bobbin should feel firm, not loose or “sloppy” a soft bobbin is a common cause of tension problems later on.
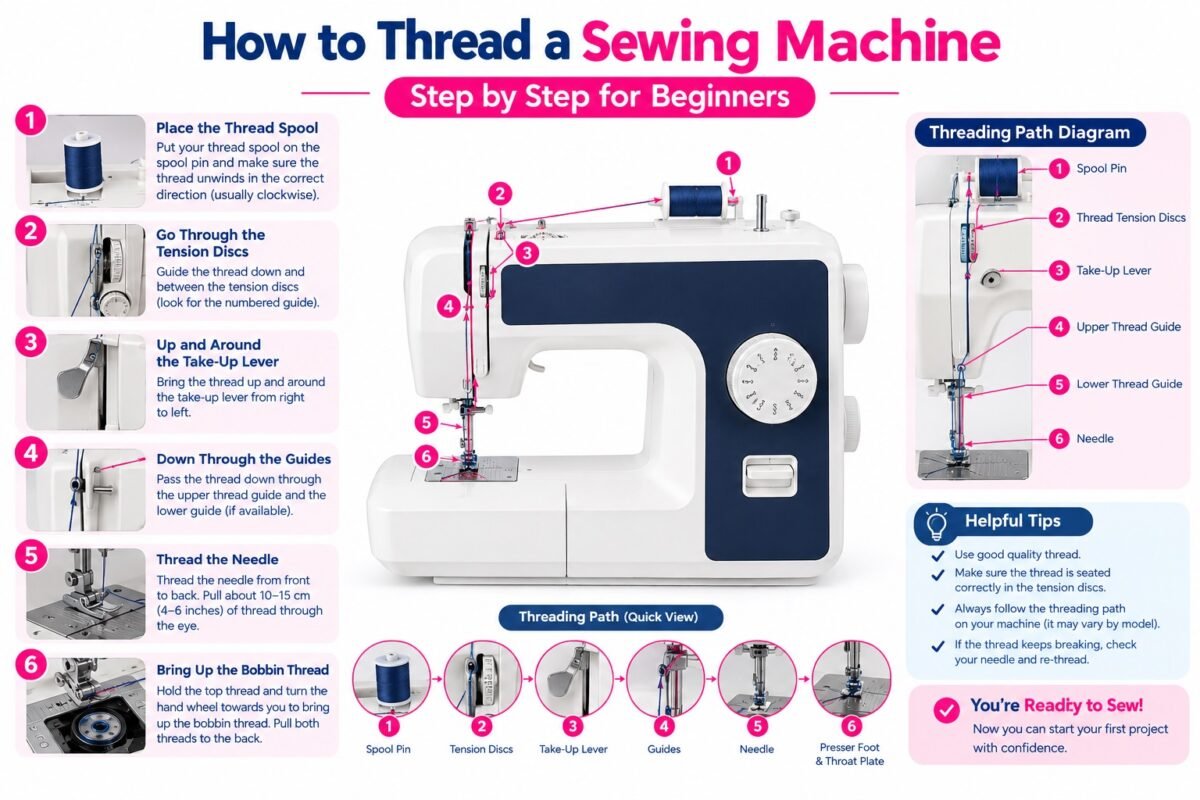
Step 3: Threading the Top Thread
- Raise the presser foot (this releases the tension discs so thread can seat properly).
- Place your thread reel on the spool pin.
- Follow the numbered thread guides on your machine, usually moving top to bottom, left to right, finishing at the needle.
- Thread the needle from front to back, or use the automatic needle threader if your machine has one the Singer Heavy Duty 4432, for instance, has a built-in needle threader that saves a lot of squinting.
- Pull both the top thread and bobbin thread back and to the left, leaving a few centimetres of slack.
Step 4: Basic Stitches Every Beginner Needs
Beginners need just three stitches: straight, zigzag, and buttonhole. You genuinely don’t need to touch most of the fancy decorative stitches when you’re starting out. Here’s what each is for:
- Straight stitch for seams, hems, and most general sewing
- Zigzag stitch for finishing raw edges and sewing stretch fabrics
- Buttonhole stitch for, unsurprisingly, buttonholes
Set your machine to a straight stitch and a medium stitch length (around 2.5mm) to begin with.
Step 5: Your First Practice Project
Spend 20–30 minutes sewing straight lines on scrap cotton before starting a real project. This is exactly how I started, and it’s genuinely the fastest way to build confidence.
- Draw a few straight and curved lines on a fabric scrap with tailor’s chalk.
- Practise sewing along the lines slowly, keeping your eyes on the seam guide (not the needle).
- Practise backstitching sew a few stitches forward, reverse for a few stitches, then continue forward. This locks your seam in place.
- Once you’re comfortable, try a simple beginner project like a tote bag, cushion cover, or a straight-hemmed tea towel.
Common Beginner Mistakes and How to Fix Them
Problem | Likely Cause | Quick Fix |
|---|---|---|
Uneven or loopy stitches | Tension is unbalanced | Check both top and bobbin threading are correct before adjusting the tension dial |
Thread keeps snapping | Machine not threaded with presser foot up | Rethread with the presser foot raised |
Needle is bent, blunt, or wrong type for fabric | Replace the needle they’re cheap and wear out faster than you’d expect | |
Fabric isn’t feeding through | Feed dogs are lowered, or fabric is being pulled | Check the feed dog lever and let the machine pull the fabric, don’t force it |
Bobbin thread is a mess underneath | Bobbin wound too loosely, or inserted the wrong way | Rewind the bobbin firmly and check the threading arrow in the bobbin case |
If in doubt, rethread the entire machine from scratch it fixes more problems than any dial adjustment ever will. This was the single biggest lesson I learned in my first year of sewing.
Comparison of Popular Beginner Machines in Australia
Popular Brand | 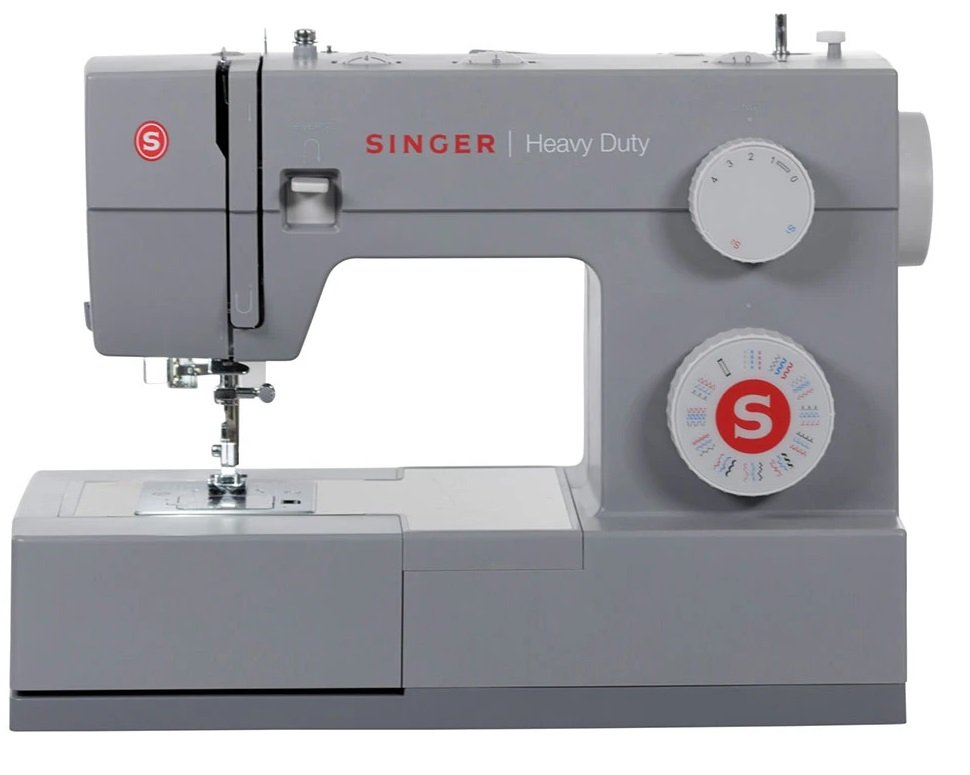 | 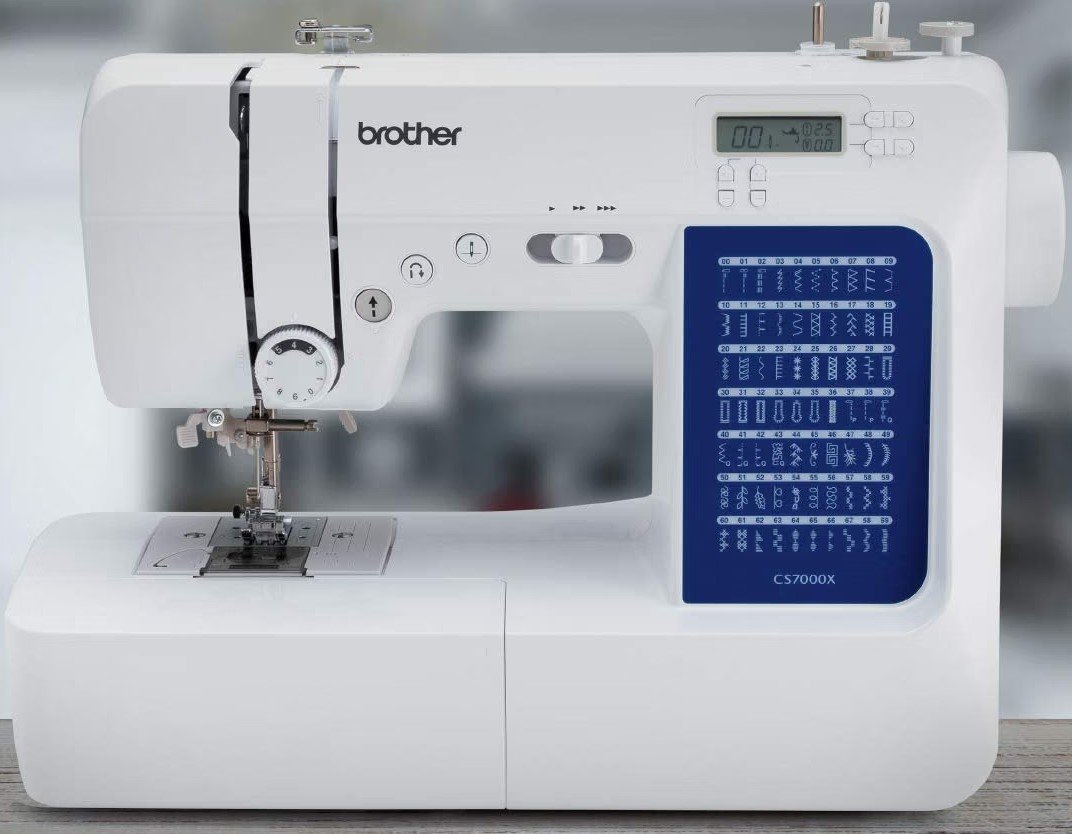 | 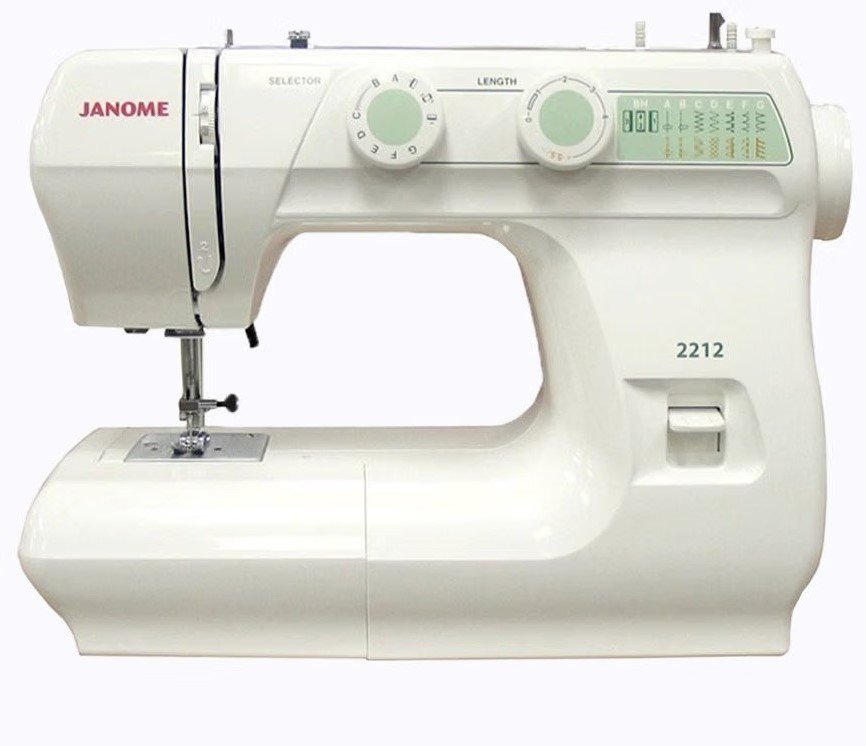 |
|---|---|---|---|
Feature | Singer Heavy Duty 4432 | Brother CS7000X | Janome 2212 |
Type | Mechanical | Computerised | Mechanical |
Built-in stitches | 32 | 70 | 12 |
Needle threader | Automatic | Automatic | Manual |
Best for | Denim, canvas, everyday sewing | Garment construction, variety of stitches | Long-term mechanical reliability |
Beginner-friendly | Yes | Yes | Yes |
Key Takeaways
- Learn the core machine parts before you start threading; it makes every step afterwards easier to follow.
- A correctly wound, firm bobbin prevents most beginner tension problems.
- You only need three stitches to start: straight, zigzag, and buttonhole.
- Practise on scrap fabric before starting a real project.
- Rethreading the whole machine fixes more issues than fiddling with dials.
Sewing is genuinely one of those skills where the first few hours are the hardest, and it gets significantly easier from there. If you’re after a reliable first machine, the Singer Heavy Duty 4432 has held up well for me over five years of regular use but whichever machine you land on, the fundamentals in this guide will apply.
For more home DIY guides, check out related HomeNoche articles on getting started with your next craft project.
Frequently Asked Questions
About Author

Muhammad Irfan Malhi is Content Researcher at HomeNoche. He researches and writes buying guides for home, kitchen and craft products, drawing on manufacturer specifications, retailer data, and Australian consumer sources to help readers make informed decisions. This guide is based on independent research rather than in-house product testing.